Tuesday, March 31, 2015

Ruby's Shabby Chic - Small Shelves

This was given to me as a gift full of body work products and I saw it had shabby chic potential….so
I use some glossy acrylic paint, lace, ribbon, hot glue gun and presto!


Robin Eggs


Bird

Crystal lightbulb

Check out my other post for more of  "Ruby's Shabby Chic Creations"
This post is for the "Stampinton Craft Month" Pinterest Board.

Monday, March 30, 2015

Ruby's Shabby Chic Creation - Bridal Shower Notebook

My mom made this cover for a 1 subject spiral notebook.  This fancy notebook was used as a guest book my bridal shower and other items related to the wedding (gift list, money list, guest addresses, etc)


Saturday, March 28, 2015

Small angel or wedding dress and veil - Ruby's Shabby Chic Creation

This little dress is approximately 7-8 inches long and the veil 5-6 inches long.
Here are pictures of the details.

Materials


Back of dress

Back of dress

Front of dress

Top of veil

Bottom of veil

thank you for stop by…click on labels on the side to see more of my creations.
Ruby

2-D Mermaid - Ruby's Creation

This was a very simple project:

Materials:
3 pictures of the mermaid
E-6000 clear/transparent glue
Modge Podge
card stock or wood
ribbon
tweezers
scissors

Instructions:
1. Glue one of the pictures onto the card stock (if you are making a card) or wood (if you are making a picture to hang on the wall).
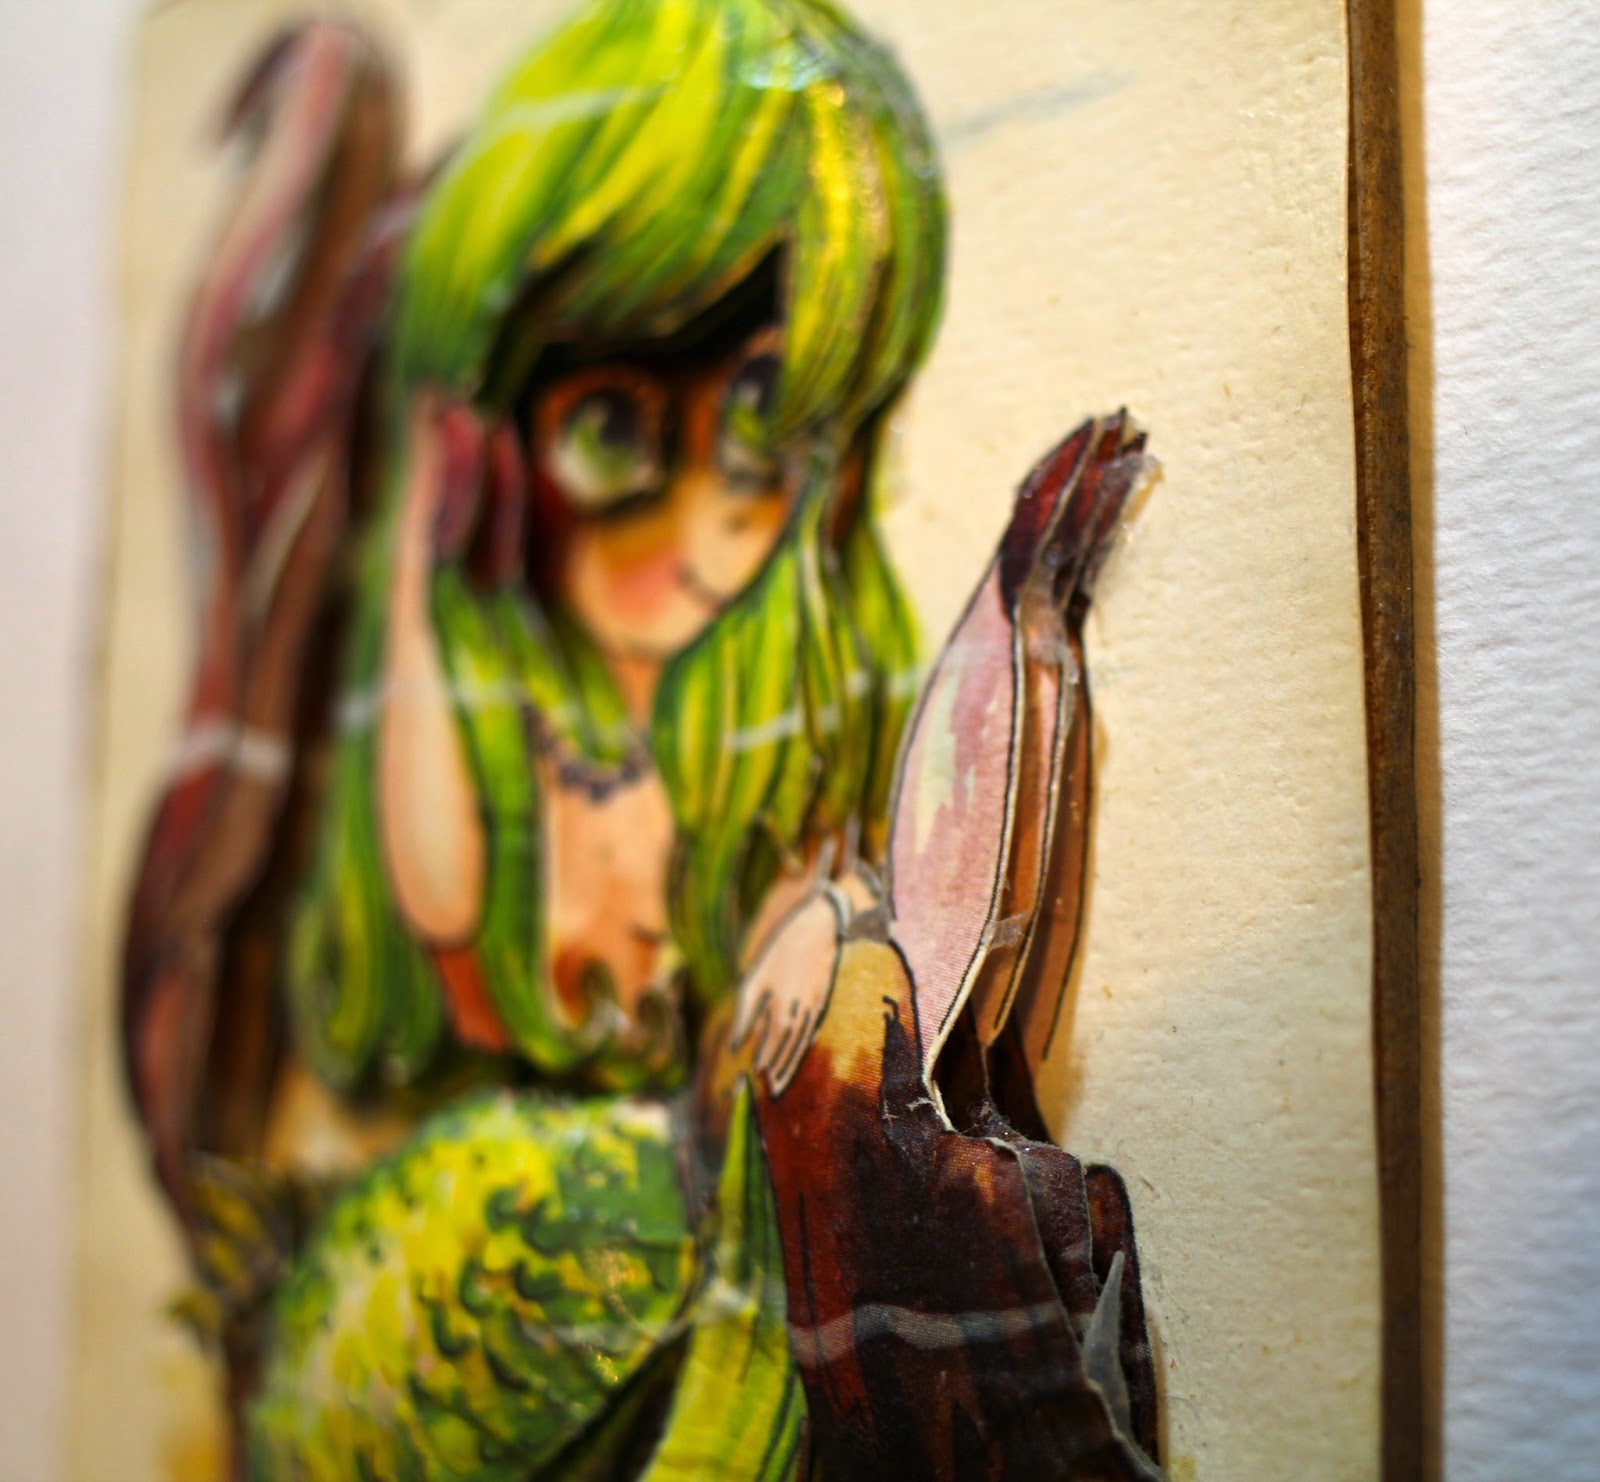
2. Take the 2nd and 3rd picture, cut out the mermaid and the different details that you want to pop away from the entire page.  Some parts of the pictures will not be used.
3. Put drops of the glue on the 1st picture (glue should be popping up).
4. Carefully place the different parts of the mermaid that you want to pop away from the main picture.
5. The entire picture does not change its main look only starts to become 2-dimensional.
6. If you feel that you can place the 3rd layer without pressing down on the 2nd layer then do so if not wait for the glue to dry to finish the project.
7. After it is dry, Modge Podge the entire project and glue a ribbon loop on the back of the wood and display on the wall.


Enjoy making these with any pictures…it is fun!
Ruby

Thursday, March 26, 2015

Ruby's Not Shabby Chic

Why is this necklace here on this blog?  I have been posting crafts and art I have made to the Stampington and Company National Craft Month Pinterest Board this month everyday and I wanted to show something my son made for me.
He was in the Royal Rangers program and during one of his "wilderness" camping he made this necklace.  He says that those are supposed to be bear claws.  Enjoy!


It is a very special necklace that I will treasure forever.  Thanks JT


Wednesday, March 25, 2015

Ruby's Shabby Chic Creation - Christmas Ornaments

Back in the 90's when my kids were little I wanted them to be able to decorate the Christmas tree and not worry about losing an ornament because it fell and broke.  I went and bought bags of white satin ornaments, lace, flowers, ribbons and a hot glue gun.  Here are some of the many ornaments I created and these are still the ornaments that decorate our 7 foot tree every year.


Follow my blog for more arts and crafts and my favorite, art journaling.
Coming soon:   http://bibleartjournaling365.blogspot.com

Hope you can come and join me in my new journey.

Monday, March 23, 2015

Ruby's Shabby Chic Creation - Handmade Crochet Hobo Bag

My mom crochet this cute hobo style handbag with the most unusual yarn.  It had different colors and the fibers sticking out were black and the other roll had white.  I took a few close up pictures so you can see the gorgeous fibers.   I get lots of compliments when I use it.  These pictures do not show how pretty this handbag is.  The inside has a red-oriental style fabric - very silky.


This post is for the "Stampinton Craft Month" Pinterest Board.